Hard-Mesh
Hardmesh plugin page
HardMesh for 3Ds Max
Installing the plugin
The installer will let you select for which version of 3d max you want to install the plugin, and copy for you the file in the right directory.
 |
|---|
| Installing HardMesh for all the available max versions |
 |
|---|
| The path where the installer copies the plugin |
Uninstalling the plugin
Currently uninstalling the plugin will remove all the versions of the plugins installed on your system.
Licensing
HardMesh for 3ds Max have different licensing types:
Trial
- A 30 day license to try the plugin
Permanent
- A Nodelocked Regular license is permanent and can work on one computer
- A Nodelocked Double license is permanent and can work on two computers
Subscription
- A Subscription Regular license can be used for 6 or 12 months on one computer
- A Subscription Double license can be used for 6 or 12 months on two computers
Activation with internet connection
- Install the plugin through the installer
- Open 3ds max and create any polygonal geometry
- Go in the modifier tab, and apply a new “HardMesh” modifier
- A license window will appear
- Click on the license type you have
- Paste the activation code you received in your email and click activate
 |
|---|
| Enter the activation key in the field |
You will now be able to use your copy of the plugin.
Activation without internet connection
If your computer doesn’t have an active internet connection, you can send your mac address to let us generate the license for you.
- Install the plugin through the installer
- Open 3ds max and create any polygonal geometry
- Go in the modifier tab, and apply a new “HardMesh” modifier
- A license window will appear
- Click on the license type you have
- You will find displayed the mac address of your computer, select it and copy it
- Send the mac address of your computer to support@pux-3d.com
- We will generate the license (Since it’s a manual process, It could take up to 48 hours)
 |
|---|
| Selected in blue, the address to send for a remote activation |
Deactivating a license
We currently do not have a deactivation option that you can do by yourself, and in case you need to move your license you will need to contact support asking for a deactivation.
Understanding the basic concepts
HardMesh aims to speed up hard-surface modeling by providing a set of tools to make modeling more creative and fun.
We currently have a smooth boolean operator that have a rich set of options and allows an interactive and creative process for modeling complex shapes, that would take a long and tedious work if done by topology.
Your inpur objects can be made of few polygons, that will be smoothed internally before being processed.
The result mesh will have the nodmals locked, to preserve the surface continuity without the real supporting topology.
New operation
For creating a new operation select the first mesh, then add an HardMesh modifier.
From the modifier you can select multiple operations to perform, when you click on one of the icons, you will be able to select the meshes from the “B side”.
You can select multiple meshes that will all share the same boolean options.
The meshes must be non self intersecting between each other.
Remember to click back on the “add” button once you have finished to select the meshes from the “B side”
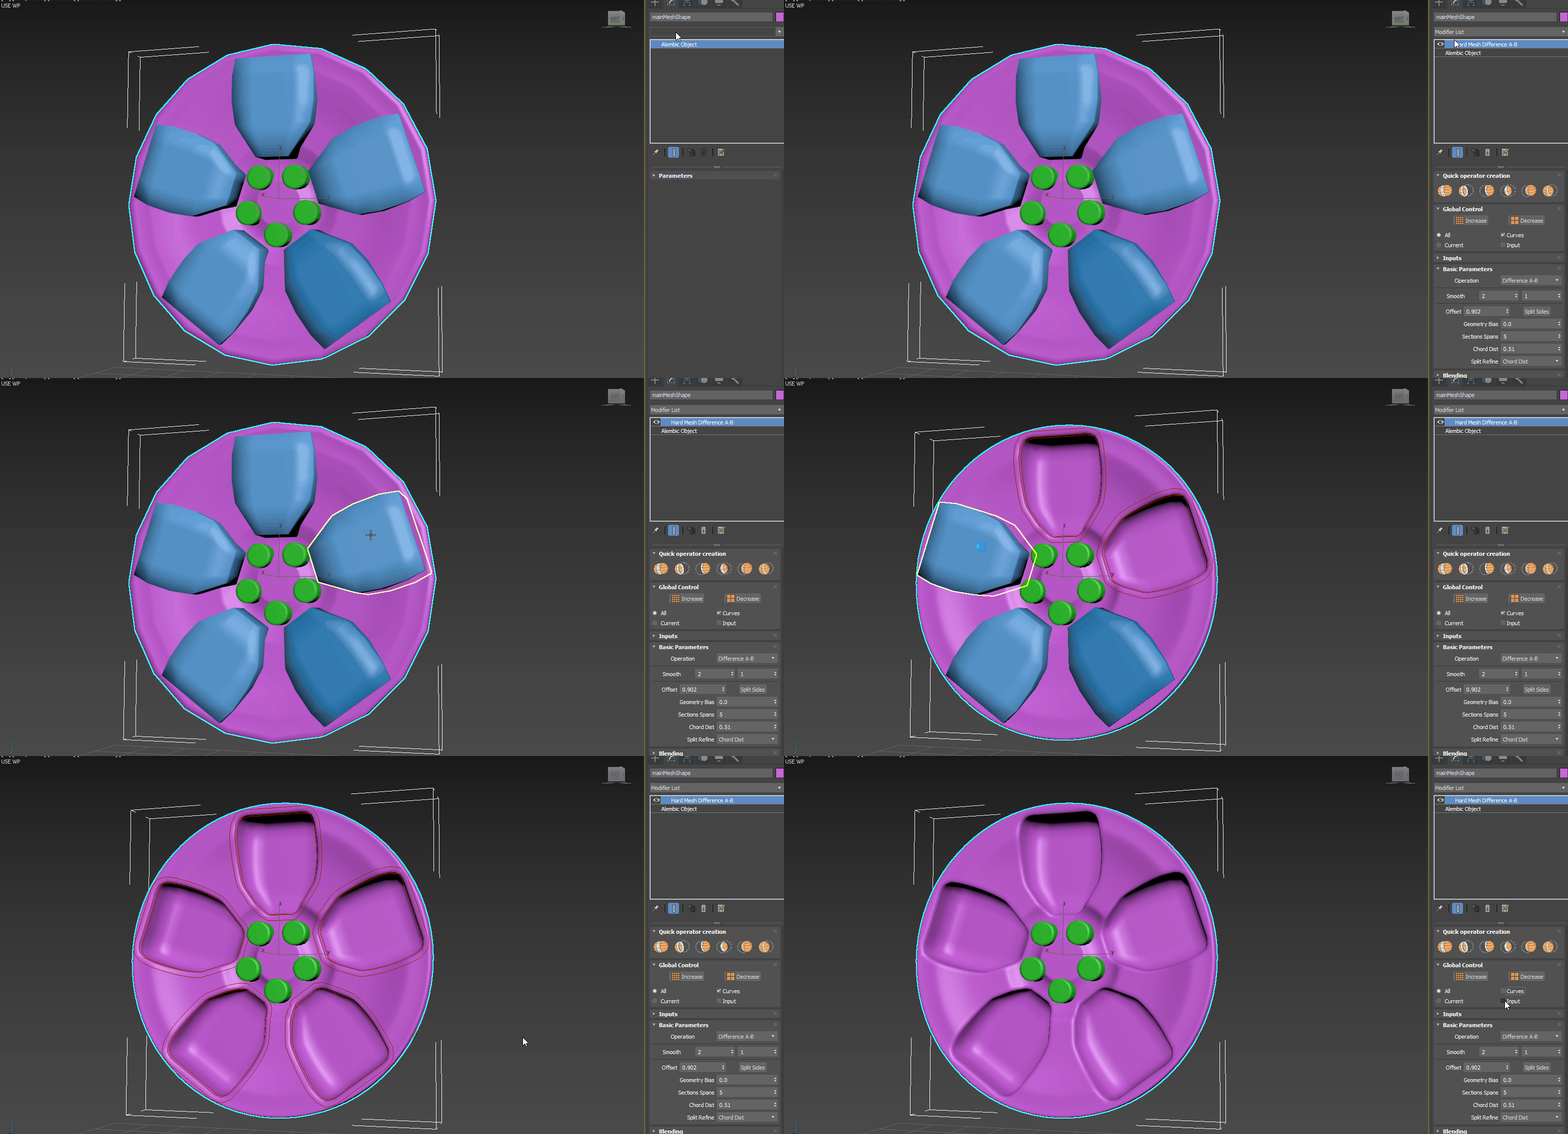
Global and visibility options
On the top part, below the icons you have the global controls.
From here you can control global smooth levels (applyed to all the HardMesh operators in the stack!) and visibility toggles.
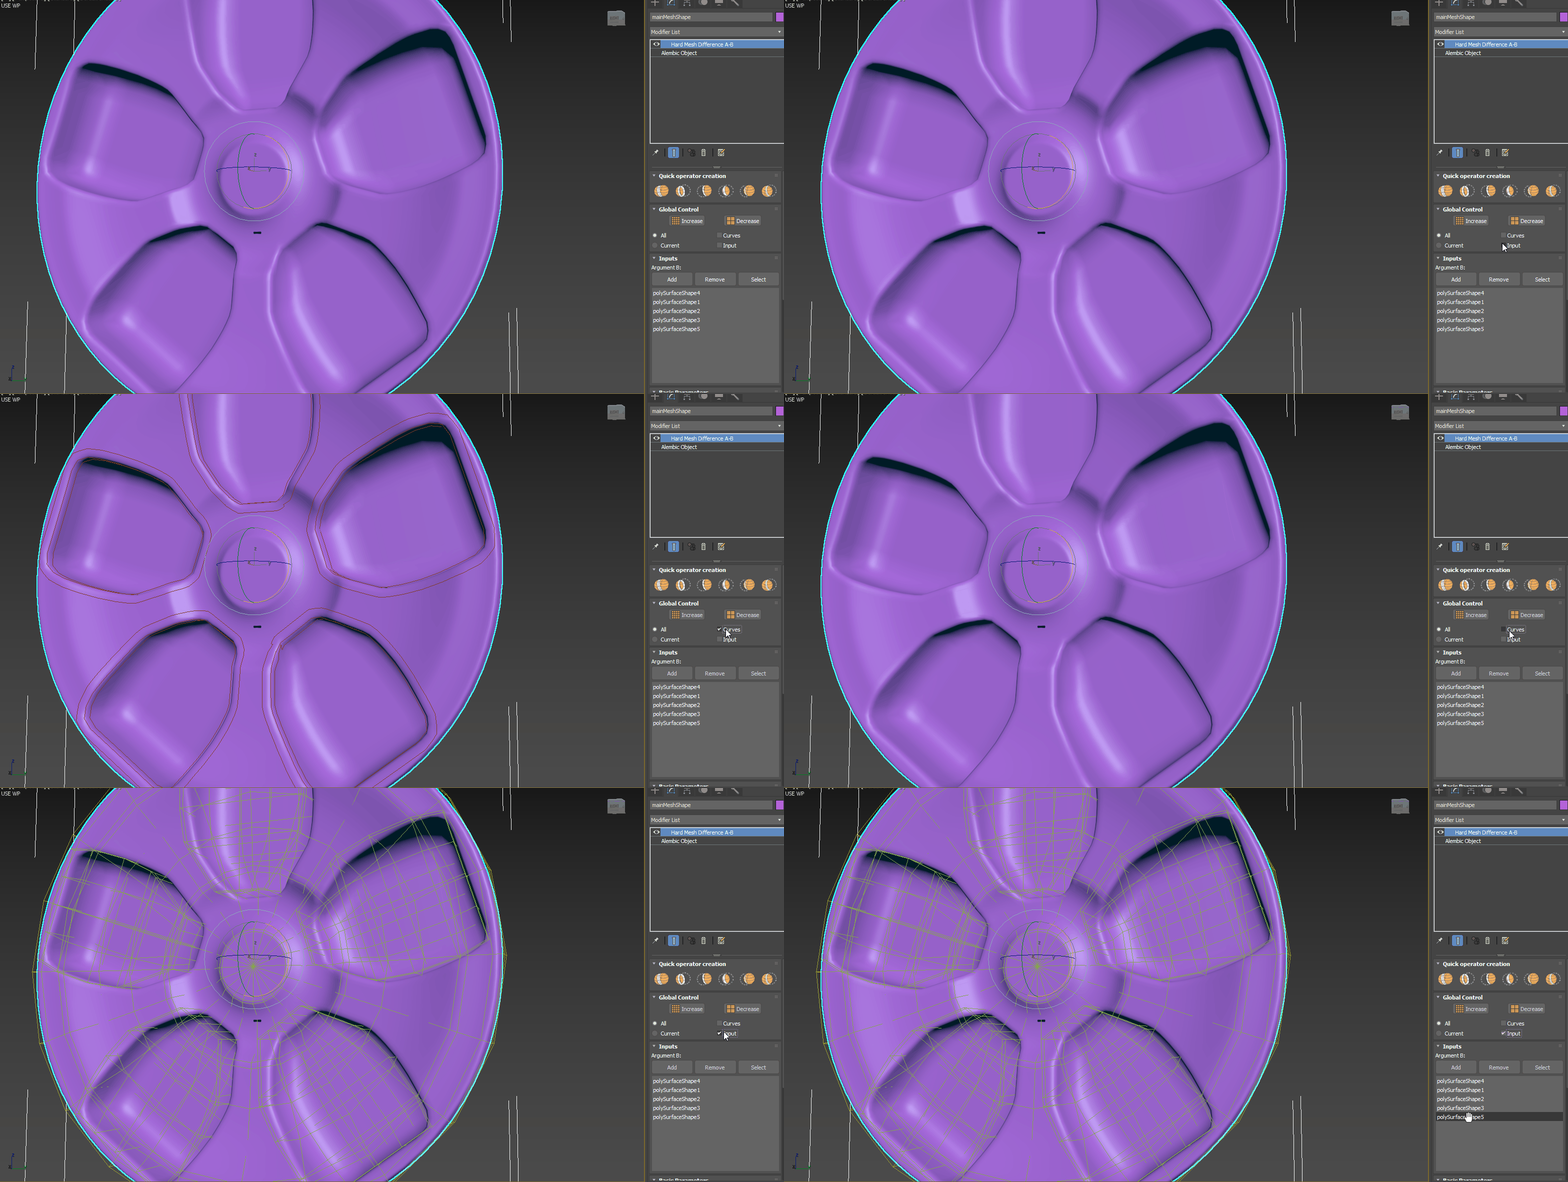
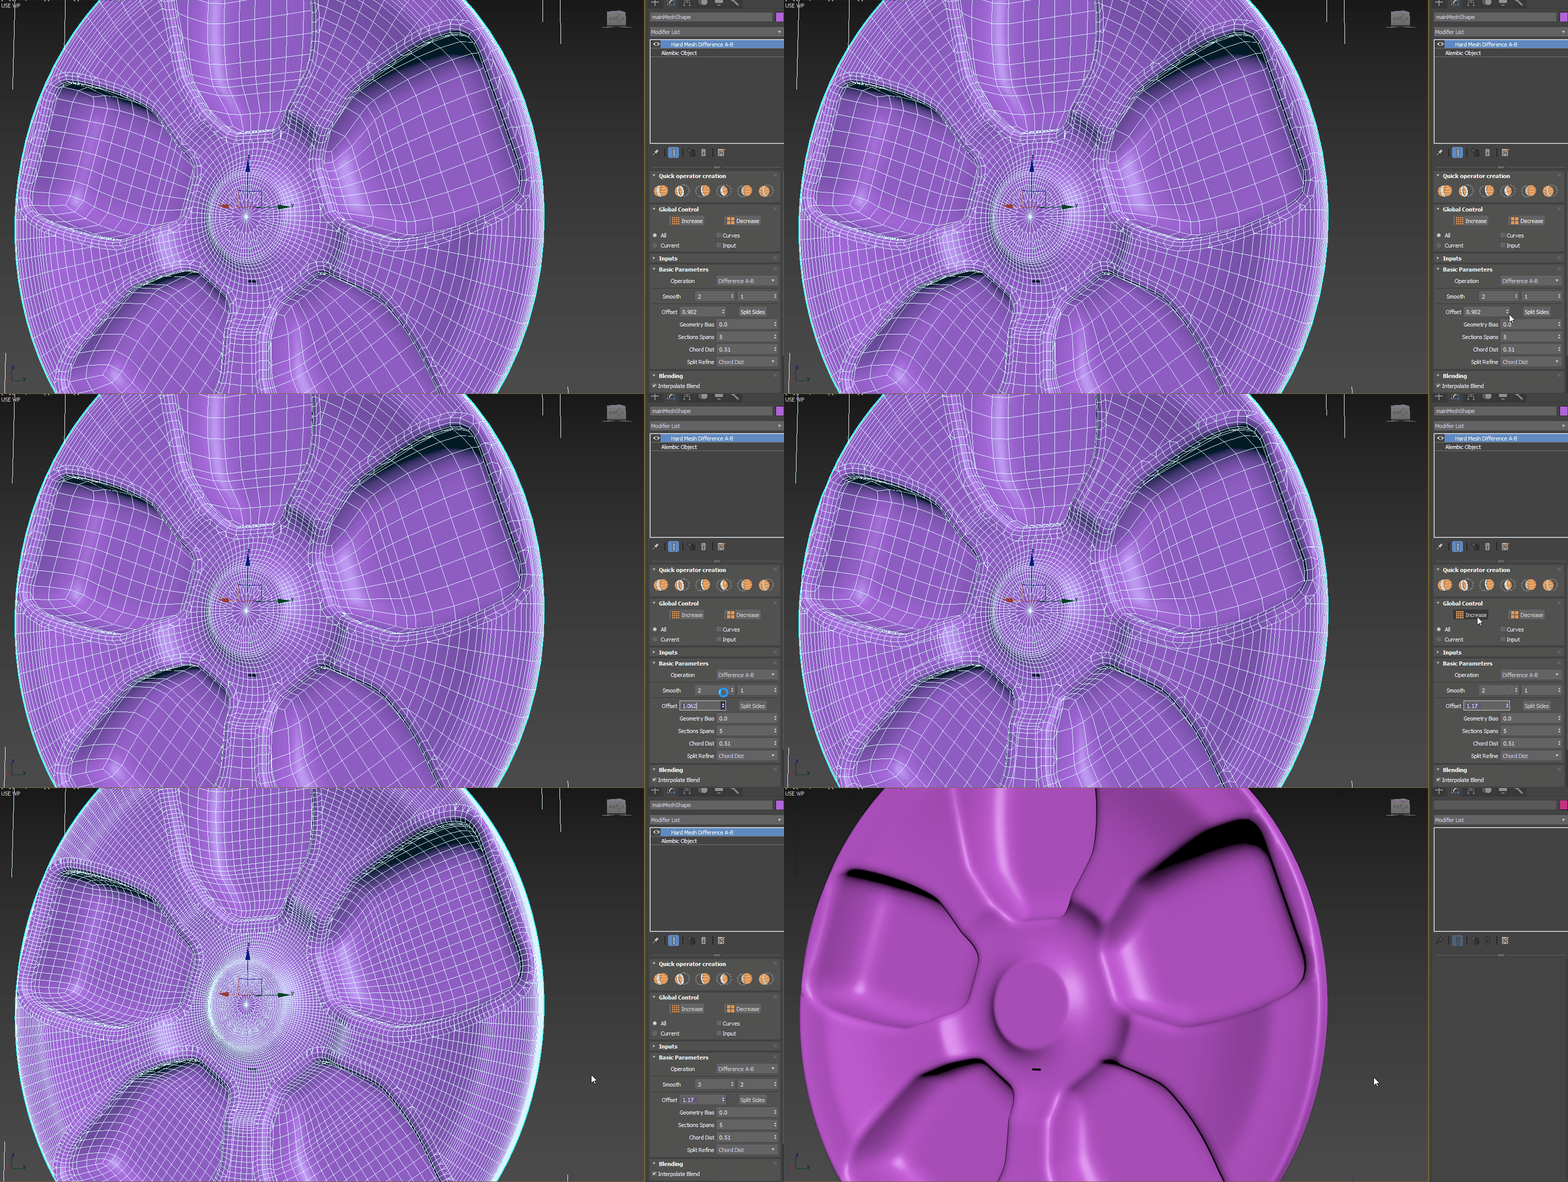
Basic interaction
Below the input tab you have the basic parameters where you can control the radius, operation type and smooth level for the involved objects.
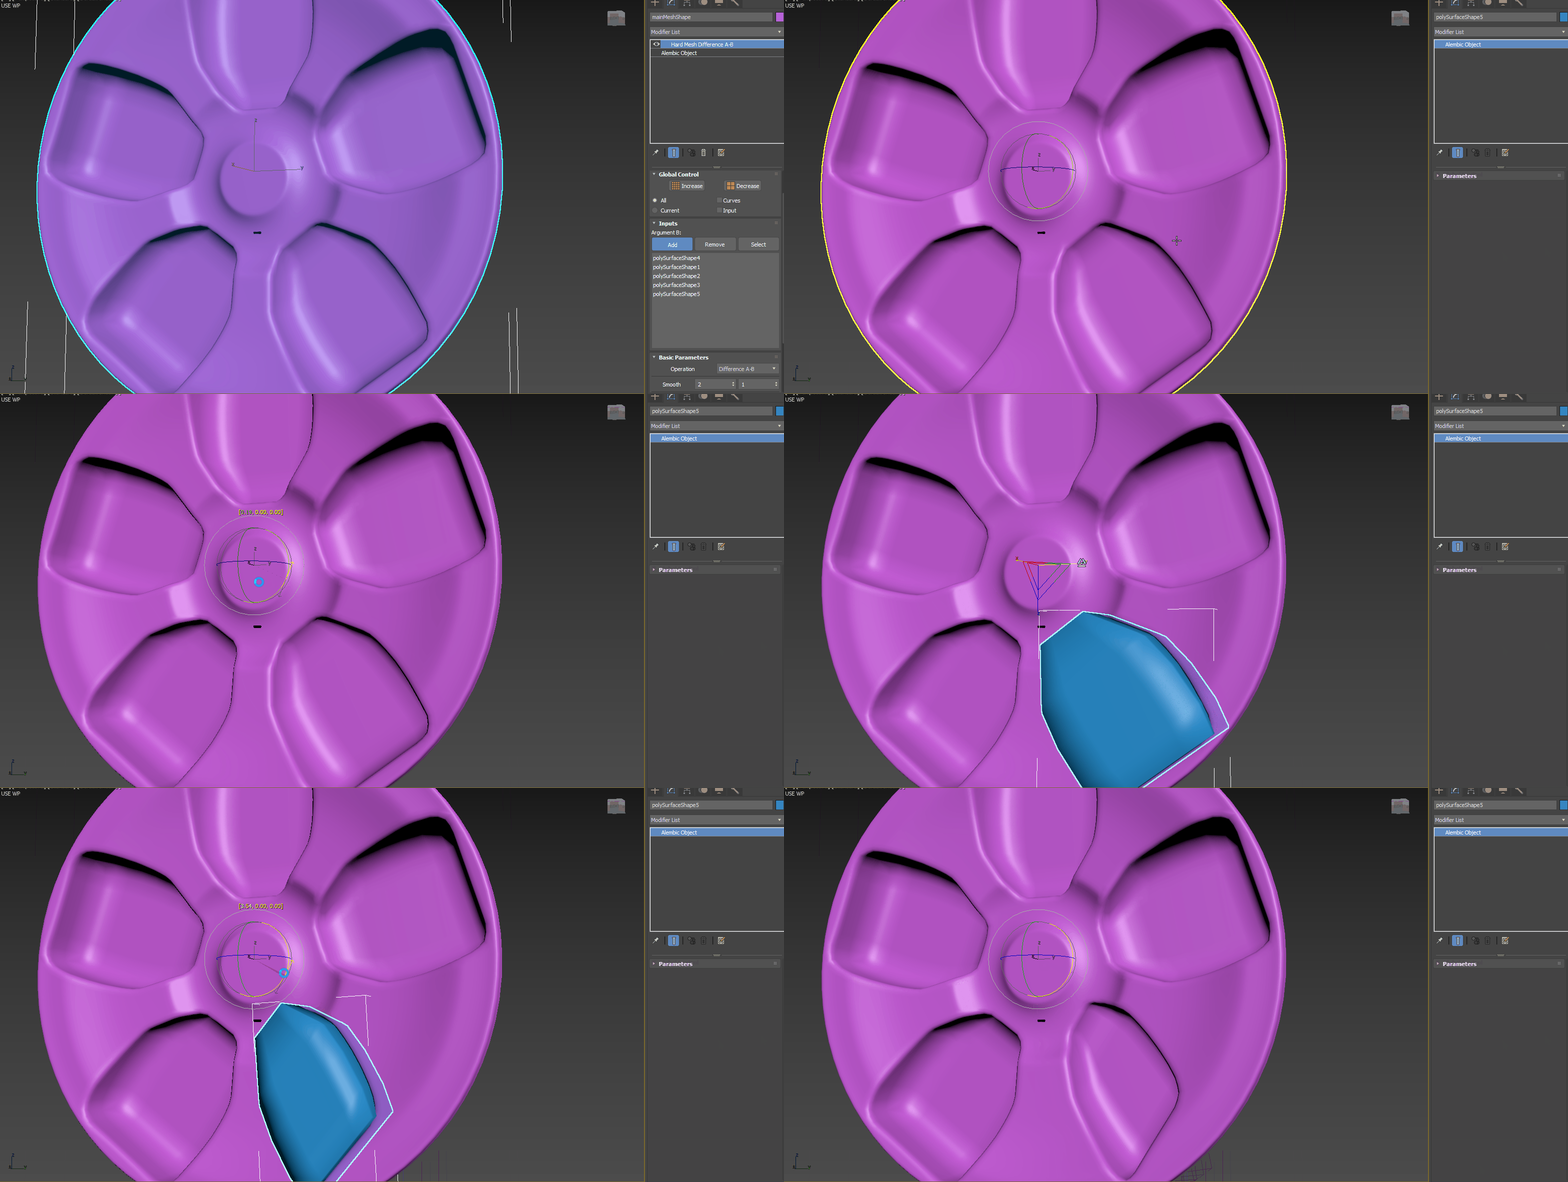
Editing inputs
When you create an operation the inputs are still connected to the operator and you can edit them to tweak the shape or find new styles.
You can select the input objects from the inputs tab of the operation.
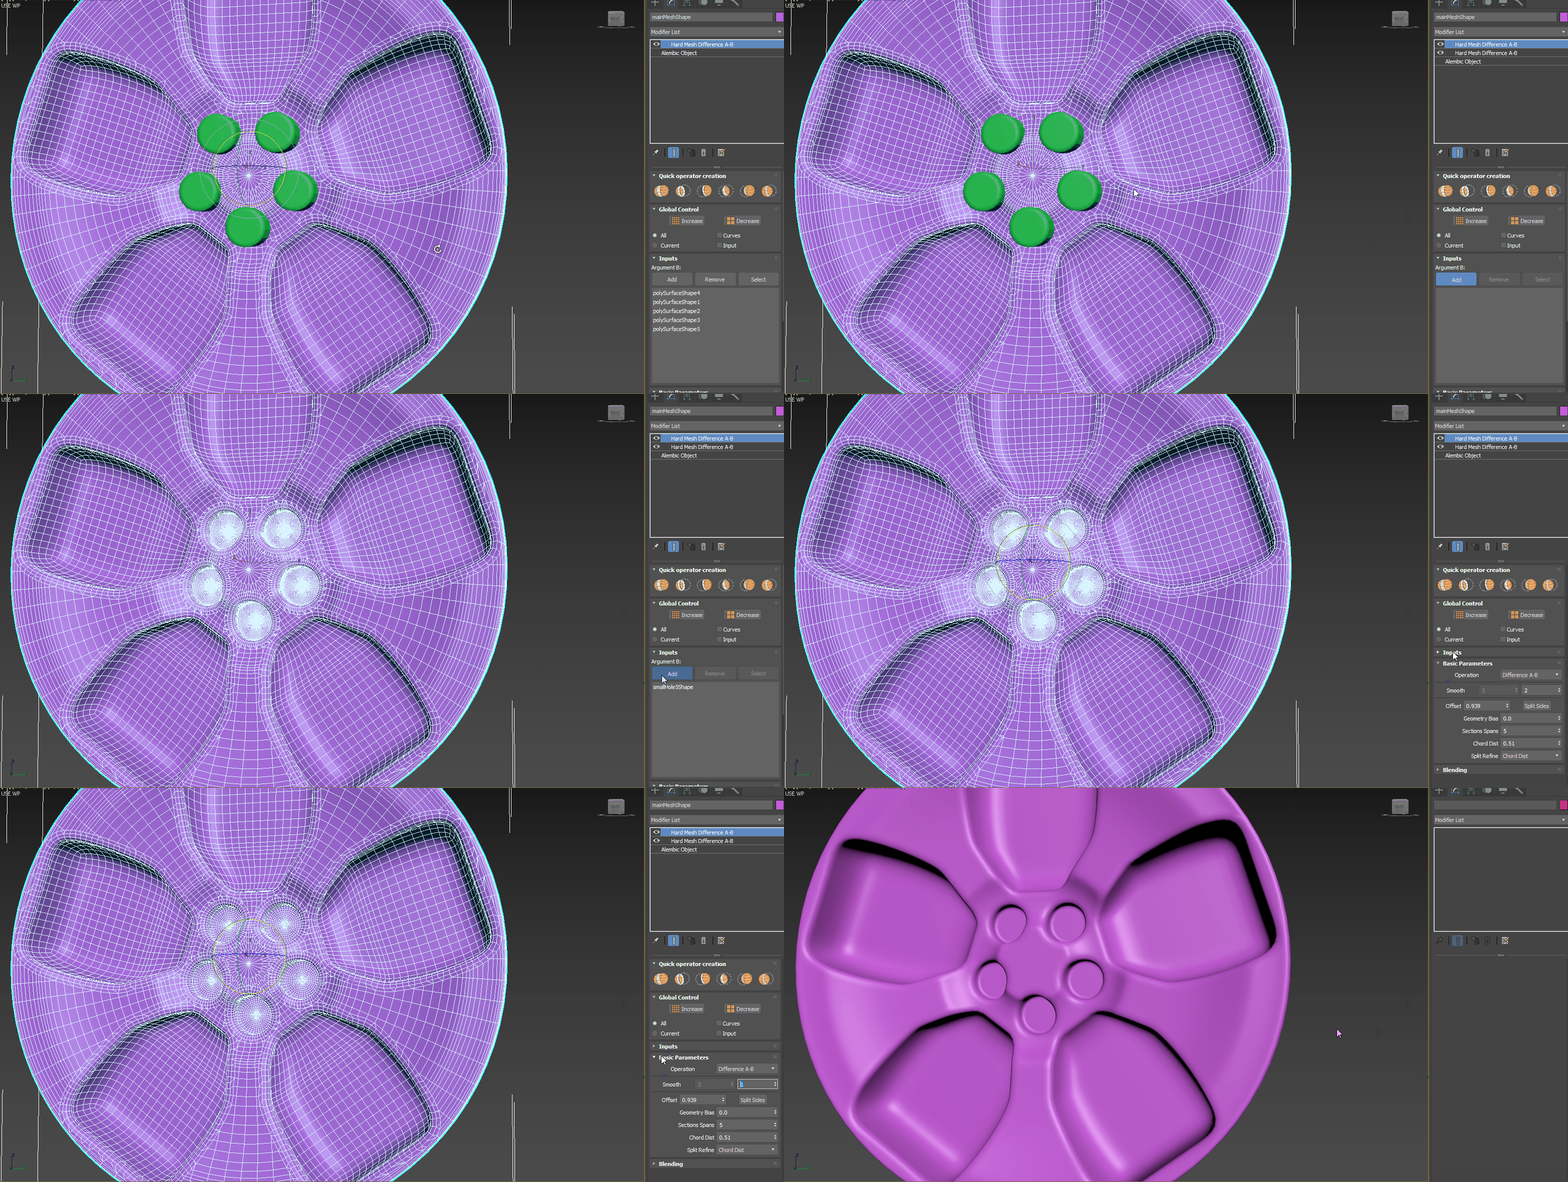
Chaining operations
One of the most powerful concepts of using HardMesh is the ability to create a new operation from the result of an existing operation.
This will let you split you model in different logical parts, that you can edit by their that combined togheter will create your final model.
You can turn on and off different operators in the same stack to try variations and refine your design.
Max Scripting Interface
The HardMesh modifier is accessible through MAX script to let you integrate it with your automated workflows.
This biref introduction will let you have a quick start with it with a series of snippets.
The HardMesh parameters
-
argumentB (Argument_B) : node array
This represent the objects from the side B of the operation, you can assign multiple non intersecting meshes -
argumentATransform (Operation) : matrix3
The transformation of the object with the modifier -
operation : integer
The possible operations with the operator.
0 = Union
1 = Difference A-B
2 = Difference B-A
3 = Intersection
4 = Panel A-B
5 = Panel B-A -
smoothA (Smooth_A) : integer
How many subdivisions should be applyed to the mesh A before computing the operation -
smoothB (Smooth_B) : integer
How many subdivisions should be applyed to the meshes B before computing the operation -
splitSides (Split_sides) : boolean
If set to true the offset can be set independently for the side A and B of the intersection -
offsetA (Offset_A) : worldUnits
The size of the offset for the blend -
offsetB (Offset_B) : worldUnits
The size of the offset for the blend, ignored if the splitSides is false -
geometryBias (Geometry_bias) : float
Move the vertices towards the intersectioncurve before cutting -
sectionsSpans (Sections_spans) : integer
THe number of spans for the fillet -
chordDist (Chord_Dist) : worldUnits
The precision for the split refine. Notice that smaller means more precision -
refineMode (Refine_Mode) : integer
0 = Split will not be refines
1 = Refine the split based on the chord dist
2 = Create a vertex for every intersected polygon -
interpolateBlend (Interpolate_Blend) : boolean
Make the blend appear smooth by using the tangent direction of the original splitted mesh -
weightA (Weight_A) : float
How big is the tangent influence from the A side -
weightB (Weight_B) : float
How big is the tangent influence from the B side -
useRamp (Use_Ramp) : boolean
Use the ramp to distort the fillet -
rampOffset (Ramp_Offset) : worldUnits
Offset value for the ramp points -
rampScale (Ramp_Scale) : float
How much the ramp points are multiplied -
points : point2 array
The points defining the ramp -
pointsIn (Points_In) : point2 array
-
pointsOut (Points_Out) : point2 array
-
pointsFlags (Points_Flags) : float array
Code examples
Add the modifier
To add the modifier to the objects you can use multiple ways.
Below some of the simplest ways
// Add the modifier to all the selected objects
                                modPanel.addModToSelection (Hard_Mesh ())
// Other method to add the modifier to all the selected objects
                                // First we store the object for later use, then we add the modifier
                                obj = $
                                addModifier obj (Hard_Mesh())
Add the B meshes
The next thing that you will want to do, is to add some meshes from the B side.
With the snippet below you should be able to do it right away.
// The HardMesh paramenter wants an array of nodes
                                // First we get the node from the object name thanks to the builtin function
                                sphere_node = getnodebyname "Sphere001"
                                // Then we create the array.
                                // Notice that here we just add one mesh but the B side can be composed of multiple meshes
                                node_array = #(sphere_node)
                                // Finnaly we assign the B side meshes assuming that obj is the object where we have applied the modifier before
                                obj.modifiers[1].argumentB = node_array
Change the parameters
Changing the parameters is pretty straightforward once you have the modifier created.
                   // Set the operation to intersection
                                obj.modifiers[1].operation = 3
                                // Set the offset bigger than the default
                                obj.modifiers[1].offsetA = 0.8
                                // And increase the smooth values for all the involved meshes
                                obj.modifiers[1].smoothA = 2
                                obj.modifiers[1].smoothB = 2
Known Limitations
One of the two meshes should be closed
Currently in order for an operation to work, one of the meshes in the operation must be closed.
No self intersecting meshes on the B side
In orded to perform an operation, the meshes from the B side should not intersect between each other.
Do not use meshes with faces with more than 100 vertices
Currently if you have one big face, with more than 100 vertices, you will have unexpected results.
Mesh Density
For optimal result, the mesh density should be enough to describe the surface.
The input meshes can and should be low poly cages, for easy editing, but the internal smooth should give to the algorithm a denser mesh for optimal visual result.
